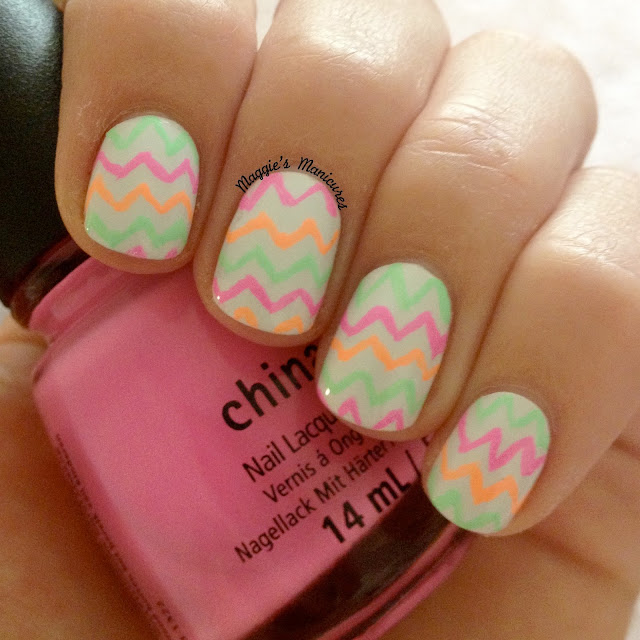
Hey everyone! It's been so long since my last blog post and I really apologize! I've been extremely busy with work. So, I decided to make it up to you guys by posting the entire China Glaze Summer 2013 Sunsational Collection! There are 6 jellies/crellies and 6 cremes. The as you've probably heard, the formulas were pretty difficult to work with with the exception of a couple. I'll talk more about the formulas at the end of this post. Lets get started!
First is Bottoms Up, a neon bubble gum pink with a creme finish. Shown is three coats plus top coat.
Next is Heat Index, a hot pink neon jelly. This one has more reddish undertones than this picture shows. Shown is three coats plus top coat.
You Drive Me Coconuts is a blue based hot pink crelly (jelly/creme hybrid). Shown is three coats plus top coat.
Next is Neon & On & On, a pink leaning coral with a creme finish. This is three coats plus top coat.
Shell-O is one of my favorites of the collection, a corally-pink jelly. I used three coats plus top coat for this opacity.
Next is Sun Of A Peach (love that name!), a peachy, orange sherbert creme. This one is really neon! I had a hard time catching the true color. The color you see in the bottle in this picture is more accurate than the color of my nails. This is three coats plus top coat.
Highlight Of My Summer, a neon mint creme (Neon mint?? You don't hear those words used together very often!), also induced a camera freak-out. However, with some photo editing, I was able to get this photo pretty color accurate. Shown is three coats plus top coat.
Next is Keepin' It Teal, a green based teal jelly. This is three coats for this opacity, plus top coat.
Too Yacht To Handle is a green based turquoise creme. No matter how hard I tried I could not get the color of this photo right! I had swatched this polish a couple months ago and the formula was super thick, goopy and bubbly - just terrible! So I added some polish thinner right then and there and when I popped this baby out for this blog post I was delighted to find that the formula had been completely transformed! I only used two coats plus top coat for this swatch and there was not a bubble or streak to be found.
Isle See You Later is a blue jelly. This is easily the worst China Glaze polish I've ever owned. The formula was so watery and sheer that even the four coats (plus top coat) shown here left much to be desired. I've seen it layered over white to create a baby blue color but even then the person who did it said she used four coats to achieve that look. Over all it's a very disappointing polish.
That's Shore Bright is a medium purple creme. The formula on this one was also pretty fantastic on it's own without thinner or anything. This is two coats plus top coat.
Finally we have Are You Jelly?, a warm, red based purple crelly. This one reminded me a lot of China Glaze Creative Fantasy, only brighter. Shown is three coats plus top coat.
On formulas: for the most part, this collection was pretty tricky to work with. I've had these since about April or May and I've used them a lot, so I'm more or less
familiar with the formulas. It helps to use a generous amount of polish
on the brush and also try to not brush over the same area of
your nail twice. These polishes set up pretty quickly and they don't
really level out very well, so if you do more than three or four strokes
per nail you'll probably have issues with balding. Also, it helps to
use a super shiny top coat to smooth everything out. I used Seche Vite
in all of these photos.
Formulas and Isle See You Later aside, I am in love with this collection. It's bright, fun and perfect for summer. I love all of the colors! I'd say my top picks for this collection are Shell-O, Bottoms Up, Heat Index and Too Yacht To Handle.
Thanks for reading!
xx Maggie


